

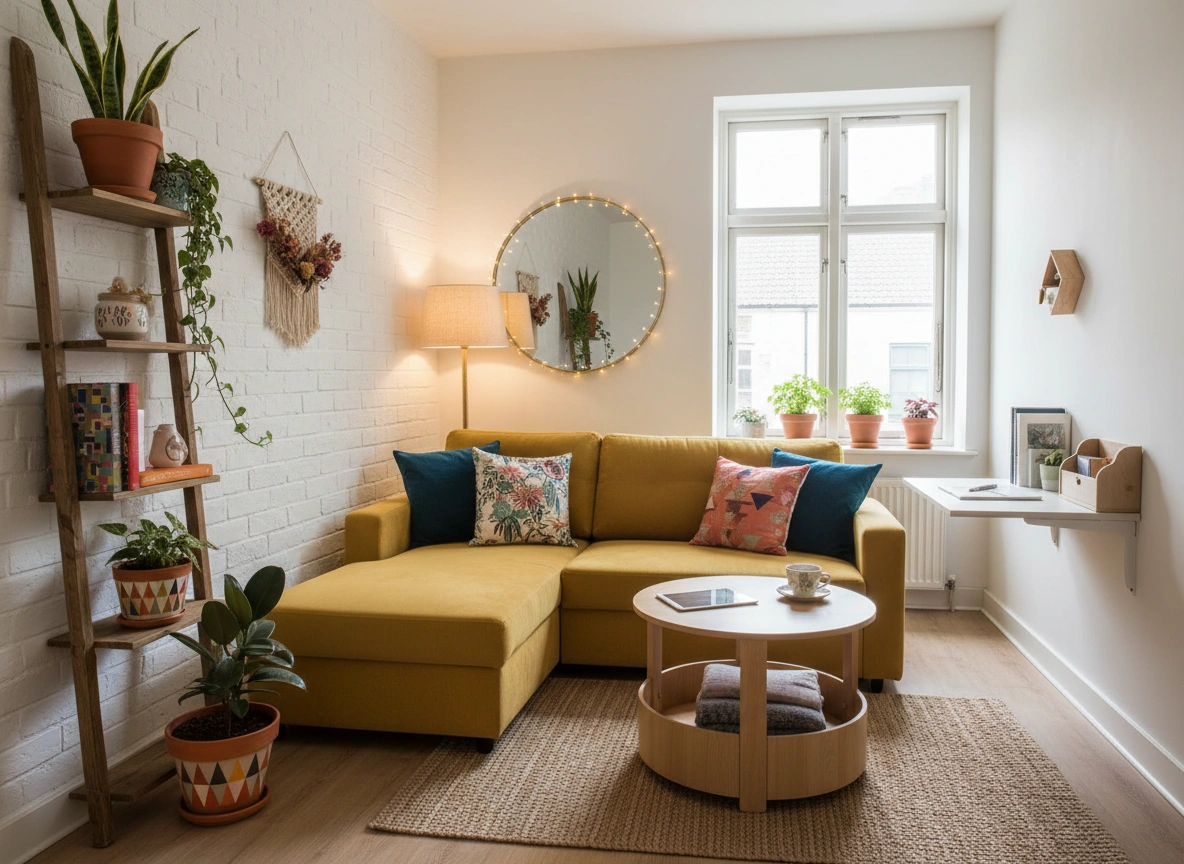
Living in a small apartment doesn’t mean you have to compromise on style. With a little creativity and some hands-on effort, you can transform your limited space into a personalized, beautiful home. Budget-friendly DIY home décor is all about making the most of what you have, finding clever solutions for small spaces, and expressing your unique personality without breaking the bank. This guide will walk you through practical tips, creative projects, and step-by-step instructions to help you get started.
You will discover how to maximize your space with smart storage, create stunning wall art from simple materials, and bring new life to old furniture. Get ready to unlock your apartment’s potential and create a home that feels both stylish and uniquely yours.
Maximizing Space with Smart DIY Solutions
In a small apartment, every square inch counts. The key is to think vertically and create multi-functional pieces that serve more than one purpose. These DIY projects are designed to save space while adding a touch of custom charm.
Floating Shelves for Vertical Storage
Walls offer valuable, untapped real estate. Floating shelves provide storage and display space without the bulk of traditional bookcases, making your room feel more open and airy.
Materials You’ll Need:
- Pine or poplar wood boards (cut to your desired length at the hardware store)
- Sandpaper (medium and fine grit)
- Wood stain or paint in your chosen color
- Floating shelf brackets (one for every 24 inches of shelf length)
- Drill, screws, and a level
Step-by-Step Instructions:
- Prepare the Wood: Start by sanding your wood boards until they are smooth. Begin with medium-grit sandpaper and finish with fine-grit for a polished feel. Wipe away any dust with a clean cloth.
- Stain or Paint: Apply your chosen wood stain or paint according to the product’s directions. A light stain can maintain a natural, airy look, while a bold paint color can create a focal point. Allow the shelves to dry completely.
- Install the Brackets: Use a level to mark where your brackets will go on the wall. It’s crucial to screw them into wall studs for stability. If studs aren’t available, use heavy-duty drywall anchors.
- Mount the Shelves: Slide your finished wood boards onto the brackets and secure them in place. Now you have a stylish spot for books, plants, and decorative objects.
Create a Multi-Functional Coffee Table
A coffee table can do more than just hold your drinks. With a simple DIY upgrade, it can become a valuable storage unit.
What to Look For:
Search for an old, sturdy coffee table at thrift stores, flea markets, or online marketplaces. A simple wooden table with legs is a perfect candidate. You can also find affordable options at discount furniture stores.
The DIY Upgrade:
- Add a Lower Shelf: Measure the area between the table legs and have a piece of plywood or a solid wood board cut to fit. Sand and paint or stain it to match your table. Attach the shelf to the legs using L-brackets for a simple and effective storage solution for books, magazines, or decorative bins.
- Incorporate Crates: For a rustic or industrial look, find two or three wooden crates that fit snugly under your existing coffee table. You can often find these at craft stores or even grocery stores. Sand them down, paint them if desired, and slide them underneath for easy-to-access storage.
Wall Art That Won’t Break the Bank
Bare walls can make an apartment feel sterile and impersonal. Creating your own wall art is an affordable way to inject personality and color into your space. These projects are simple, impactful, and require minimal artistic skill.
Upcycled Fabric Wall Hangings
Do you have old scarves, curtains, or even a piece of fabric with a pattern you love? Turn it into a beautiful, large-scale piece of art.
Materials You’ll Need:
- A large piece of fabric with an interesting pattern or texture
- Two wooden dowels (slightly wider than your fabric)
- Twine or string for hanging
- A hot glue gun or fabric glue
Step-by-Step Instructions:
- Prepare the Fabric: Iron your fabric to remove any wrinkles. Lay it flat on the floor.
- Attach the Dowels: Apply a line of hot glue along the top edge of the fabric and carefully roll the wooden dowel onto it, creating a clean, straight top border. Repeat this process for the bottom edge to give the hanging some weight and help it hang straight.
- Add the Hanger: Tie a piece of twine or string to both ends of the top dowel. Make sure it’s secure.
- Hang Your Art: Hang your new fabric art on a prominent wall. This is a great way to add a soft, textural element and a pop of color to your living room or bedroom.
DIY Abstract Canvas Painting
You don’t need to be a professional artist to create a stunning abstract painting. It’s all about playing with color and texture.
Materials You’ll Need:
- A blank canvas (available in various sizes at craft stores)
- Acrylic paints in 3-4 complementary colors
- Paintbrushes of different sizes
- Optional: A putty knife or old credit card for creating texture
Get Creative:
- Choose Your Palette: Select colors that match your existing décor. A simple palette of white, black, and one accent color can be very chic.
- Start Painting: There are no rules here. You can paint large blocks of color, create sweeping brushstrokes, or even flick paint onto the canvas for a splatter effect.
- Add Texture: While the paint is still wet, use a putty knife or an old credit card to scrape and move the paint around. This creates depth and visual interest.
- Let It Dry: Once you’re happy with your creation, let it dry completely before hanging it on the wall. This project is a fantastic way to create a custom piece that perfectly fits your space and style.
Breathing New Life into Old Items
Upcycling, or creative reuse, is at the heart of budget-friendly decorating. It’s about seeing the potential in items that might otherwise be discarded.
Revamping Old Furniture with Paint
A fresh coat of paint is one of the easiest and most transformative DIY projects. An old, dated dresser, nightstand, or chair can become a modern statement piece.
Finding Your Piece:
Look for solid wood furniture at garage sales or secondhand shops. Don’t worry about surface scratches or an outdated finish—those are easy to fix. The most important thing is that the piece is sturdy and well-made.
The Transformation Process:
- Clean and Sand: Clean the furniture thoroughly with a degreasing cleaner. Then, lightly sand the entire surface to help the new paint adhere.
- Prime: Apply a coat of primer. This is especially important if you are painting over a dark finish with a light color.
- Paint: Apply two thin coats of your chosen paint, allowing each coat to dry completely. For a durable finish on high-use items like tables and dressers, choose a satin or semi-gloss latex paint.
- Update Hardware: Swap out old, dated knobs and pulls for new, modern hardware. This small change can have a massive impact on the overall look of the piece.
From Glass Jars to Stylish Storage
Don’t throw away those empty jam jars, pickle jars, or pasta sauce containers. With a little imagination, they can be turned into stylish and practical storage.
Ideas for Repurposing Jars:
- Kitchen Canisters: Clean the jars and lids thoroughly. Use a can of spray paint (one made for glass) to paint the lids a uniform color, like matte black, gold, or silver. Use them to store spices, grains, or tea.
- Desk Organizers: Use jars of various sizes to organize pens, pencils, paper clips, and other office supplies on your desk.
- Bathroom Storage: Keep cotton balls, swabs, and makeup brushes tidy and visible in clear glass jars on a shelf or countertop.
Start Your DIY Journey Today
Decorating your small apartment on a budget is an exciting opportunity to get creative and make your space truly your own. Don’t be afraid to experiment, make mistakes, and have fun with it. Each project you complete will add another layer of your personality to your home.
Start small with a simple project like painting glass jars or creating a fabric wall hanging. As your confidence grows, you can take on larger projects like revamping furniture. Remember, the goal is not perfection but personalization. Your home should be a reflection of you, and nothing is more personal than something you’ve created with your own hands. So, roll up your sleeves, gather your materials, and start building the stylish apartment of your dreams.Please click here for more info.
You may also read: How Pets Reduce Stress and Anxiety: Proven Benefits