

So, you have built an app. Maybe it’s the next great productivity tool, a game that will take over the world, or just a handy utility for your local community. Whatever it is, you are staring at the finish line, but there is one major hurdle left: getting it onto the App Store.
For millions of developers, the App Store is the golden ticket. It provides access to a massive global audience of iPhone, iPad, Mac, Apple Watch, and Apple TV users. But access isn’t free, and it isn’t automatic. To distribute your apps, access beta software, and utilize advanced app capabilities, you need to join the Apple Developer Program.
Navigating Apple’s ecosystem can sometimes feel like learning a new language. The process of enrolling can seem bureaucratic and confusing if you haven’t done it before. This guide cuts through the confusion. We will walk you through exactly how to buy an Apple Developer account, why you actually need one, and how to set yourself up for success from day one.
What is the Apple Developer Program?
Before you pull out your credit card, it is important to understand what you are actually buying. The Apple Developer Program is a membership service provided by Apple that allows individuals and organizations to develop, test, and distribute apps.
When you enroll, you aren’t just paying for the right to upload an app. You are buying access to a suite of tools and resources. This membership is the bridge between your code and Apple’s customers.
Key Benefits of Membership
Why do developers willingly pay an annual fee? Because the benefits are essential for serious app development.
- App Store Distribution: This is the big one. Without a paid account, you cannot publish your app on the App Store. Membership lets you distribute to customers in over 175 regions.
- Beta Software Access: You get early access to beta versions of iOS, macOS, watchOS, and tvOS. This allows you to test your apps against upcoming software updates before they are released to the public, ensuring your app doesn’t break when a new iPhone update drops.
- TestFlight: This is Apple’s proprietary tool for beta testing. It allows you to invite up to 10,000 external testers to try your app before you launch it. Feedback from real users during this phase is invaluable.
- Advanced App Capabilities: Membership unlocks powerful features like iCloud storage, Apple Pay integration, Game Center, and Push Notifications. If your app needs to send alerts or save data to the cloud, you need these entitlements.
- App Analytics: once you launch, you gain access to detailed analytics. You can see how many people view your app page, how many download it, and how they engage with it over time and crash reports.
Why You Need an Apple Developer Account
You might be wondering, “Can’t I just develop for free?” Technically, yes. You can download Xcode (Apple’s Integrated Development Environment) for free. You can write code, run simulators on your Mac, and even side-load an app onto your personal iPhone for testing without paying a dime.
However, the free route is essentially a “sandbox” mode. It is strictly for learning and personal experimentation. If your goal goes beyond showing an app to your mom on your own phone, you need to buy an Buy Apple Developer Account.
Professional Credibility
Having a developer account signals that you are serious. When users see your app on the store, they see you (or your company) listed as the seller. This establishes trust.
Business Opportunity
The App Store is a marketplace. Whether you plan to sell your app for a fee, use in-app purchases, or monetize through ads, you cannot generate revenue without a paid account. The membership fee is essentially a business expense—the cost of setting up shop in one of the world’s most profitable digital marketplaces.
Essential Security
Apple takes security seriously. The enrollment process verifies your identity. This vetting process protects users from malware and scams, but it also protects you. It ensures that nobody else can impersonate your developer identity.
Prerequisites: What You Need Before You Start
Don’t rush to the registration page just yet. Having the right documents and information ready will save you from getting stuck halfway through the process.
Here is your pre-flight checklist:
- An Apple Device: You generally need a Mac, iPhone, or iPad to complete the two-factor authentication required for the account.
- Apple ID: You need an Apple ID with two-factor authentication turned on. You can use your personal ID, but many developers prefer creating a separate Apple ID specifically for their business to keep personal emails and developer notifications separate.
- D-U-N-S Number (For Organizations Only): If you are enrolling as a company, non-profit, or government entity, you need a D-U-N-S Number. This is a unique nine-digit identifier provided by Dun & Bradstreet that verifies your business’s legal status. Individuals do not need this.
- Legal Authority: If enrolling as an organization, you must have the legal authority to bind your organization to legal agreements. Apple will verify this.
- A Valid Credit Card: You need an accepted payment method for the annual fee.
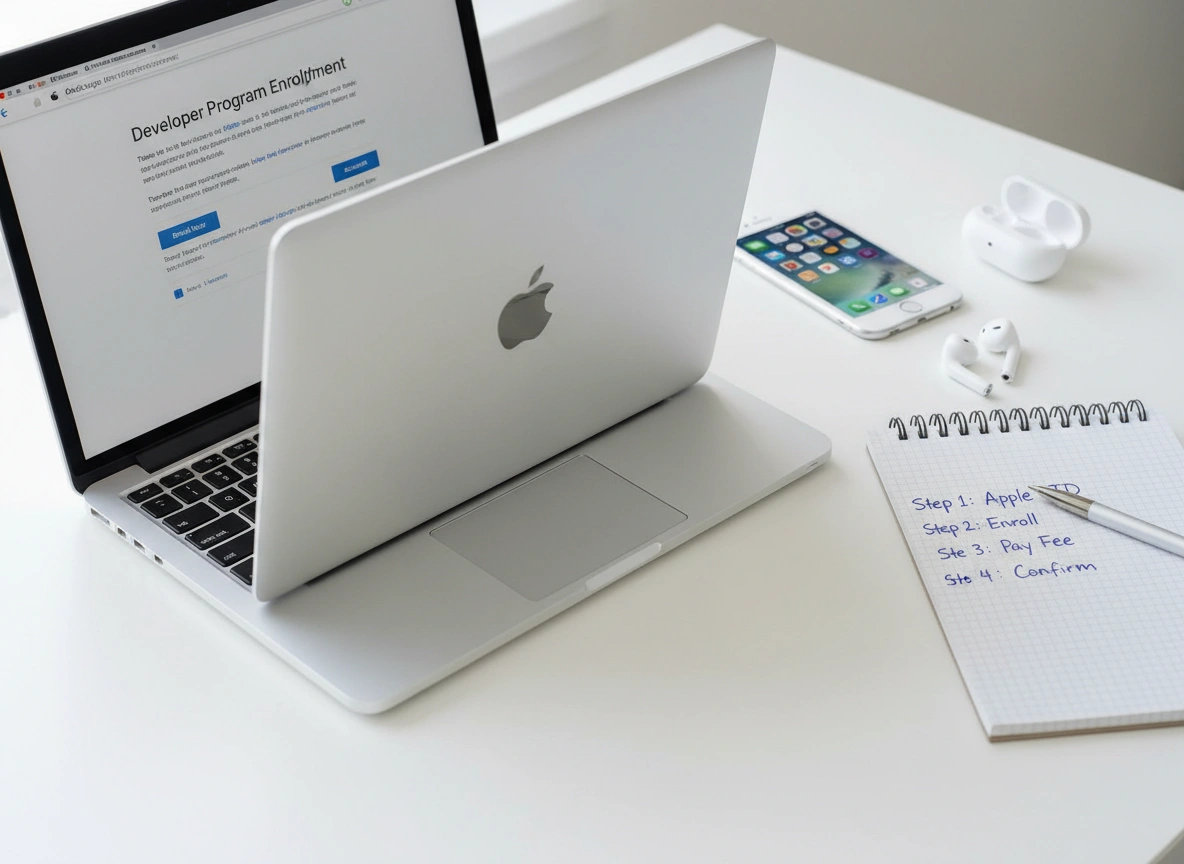
Step-by-Step Guide to Purchasing an Apple Developer Account
Ready to join the club? Follow these steps to buy your Apple Developer Account.
Step 1: Sign in with Your Apple ID
Go to the Apple Developer website (developer.apple.com) and click on “Account.” Sign in with the Apple ID you intend to use for development. If you don’t have one, create it now. Ensure two-factor authentication is active; Apple will not let you proceed without it.
Step 2: Start the Enrollment Process
Once logged in, look for the “Join the Apple Developer Program” button. It is usually prominent on the main dashboard or at the bottom of the page. Click it to begin.
Step 3: Choose Your Enrollment Type
This is a critical decision. Apple offers two main paths:
- Enrolling as an Individual: This is for sole proprietors or single developers. Your personal name will appear as the “Seller” in the App Store. This is the fastest route and requires less paperwork.
- Enrolling as an Organization: This is for companies, non-profits, or educational institutions. Your legal entity name will appear as the “Seller.” This option allows you to add multiple people to your developer team, giving them different levels of access.
Note: If you start as an individual, you can migrate to an organization account later, but it involves a transfer process.
Step 4: Enter Your Information
- For Individuals: You will need to provide your legal name, phone number, and address. Apple will verify your identity using your Apple ID information.
- For Organizations: You will enter your legal entity name and your D-U-N-S Number. Apple will check the D-U-N-S database to ensure your details match exactly. This verification can sometimes take a few days if the database information is outdated.
Step 5: Review and Accept the Agreement
You will be presented with the Apple Developer Program License Agreement. It is long, dense legalese, but it outlines the rules of the road—what you can and cannot do on the platform. Review it, check the box, and proceed.
Step 6: Pay the Membership Fee
The cost of the Apple Developer Program is $99 USD per year (pricing varies slightly by region and local currency).
You will be directed to the Apple Store to complete the purchase. Enter your payment details. You can usually set this to auto-renew, which is highly recommended. If your membership expires, your apps will be removed from the App Store until you renew, which causes a significant loss in momentum and revenue.
Step 7: Await Activation
- Individuals: Activation is often immediate or takes up to 24 hours. You will receive an email confirmation.
- Organizations: This takes longer. Apple may call the phone number associated with your D-U-N-S number to verify your employment and authority. This can take anywhere from a few days to a couple of weeks.
Tips for Beginners to Make the Most of Your Account
Congratulations! You are officially an Apple Developer. But buying the account is just the start. Here is how to maximize your $99 investment.
1. Explore the Human Interface Guidelines (HIG)
Before you code another line, read Apple’s Human Interface Guidelines. This is the bible of Apple design. It explains how apps should look, feel, and behave on Apple platforms. Apps that follow the HIG are more likely to get approved quickly and are often featured by Apple editors because they feel “native” to the device.
2. Utilize Code-Level Support
Did you know your membership includes technical support? You get two Technical Support Incidents (TSIs) per membership year. If you hit a code-breaking bug that you absolutely cannot solve, you can request help from Apple’s engineers. Don’t waste these on simple syntax errors, but save them for the truly baffling problems.
3. Leverage Certificates, Identifiers, and Profiles
Learn how to manage your “Certificates, Identifiers & Profiles” in the developer portal early on. This is the administrative side of the account that allows your app to run on devices. Understanding the difference between a “Development Certificate” (for testing) and a “Distribution Certificate” (for the App Store) is vital.
4. Join the Community Forums
The Apple Developer Forums are accessible with your account. It is a massive community of engineers and fellow developers. If you are struggling with a specific API or rejection from the App Store review team, chances are someone else has faced it too.
5. Download the ‘Apple Developer’ App
Apple has its own app called “Apple Developer.” Download it. It is full of videos from WWDC (Worldwide Developers Conference), news updates, and design articles. It’s the best way to stay current with the rapidly changing ecosystem.
Conclusion
Buying an Apple Developer Account is the first professional step in your journey as an iOS or macOS creator. While the process involves some paperwork and a $99 fee, it unlocks the door to the most lucrative app marketplace in history.
By following the steps outlined above—preparing your documents, choosing the right enrollment entity, and understanding the benefits—you can navigate the registration smoothly. Remember, this membership is more than just a tollbooth; it’s a toolkit. Use the resources, test rigorously with TestFlight, and lean on the guidelines provided. Your audience is waiting. Now, go build something amazing.